
It must have been the floral print on the brown black background that got me. As well as the shirt front neckline and the buttonholes down the front with self-fabric covered buttons, all nicely worked and hard for me to have sewn myself (as if I could be bothered!). I snagged this dress at a
Salvation Army store and, inspired by other sewing queens on
Pinterest, I felt compelled to buy this dress -- a Size 12 -- which is way too big for me, for $3.99 and challenged myself to see if I can do the Tim Gunn "make it work"
refashionista thing and to turn it into something I would actually wear out of the house, that is, into a Size 4 summer dress. Basically it was a massive hack-down: I slashed 2 inches out of each side seam and cut off 6
inches off the bottom and hemmed it. I also took in every one of the
four vertical darts another inch or so to get the volume of the dress down even smaller and give it
more curves! The piece that got cut off the bottom became a self tie belt. I ripped out the lumpo shoulder pads and snipped out the sleeves completely, then shortened the two shoulder seam widths by about half an inch and hemmed the arm hole openings. After a jolly good ironing, I tried it on and hey presto chango, had meself a new dress. I've gotten a few compliments wearing this out as it has a dressy look but is very comfortable, machine washable, and cool to wear!

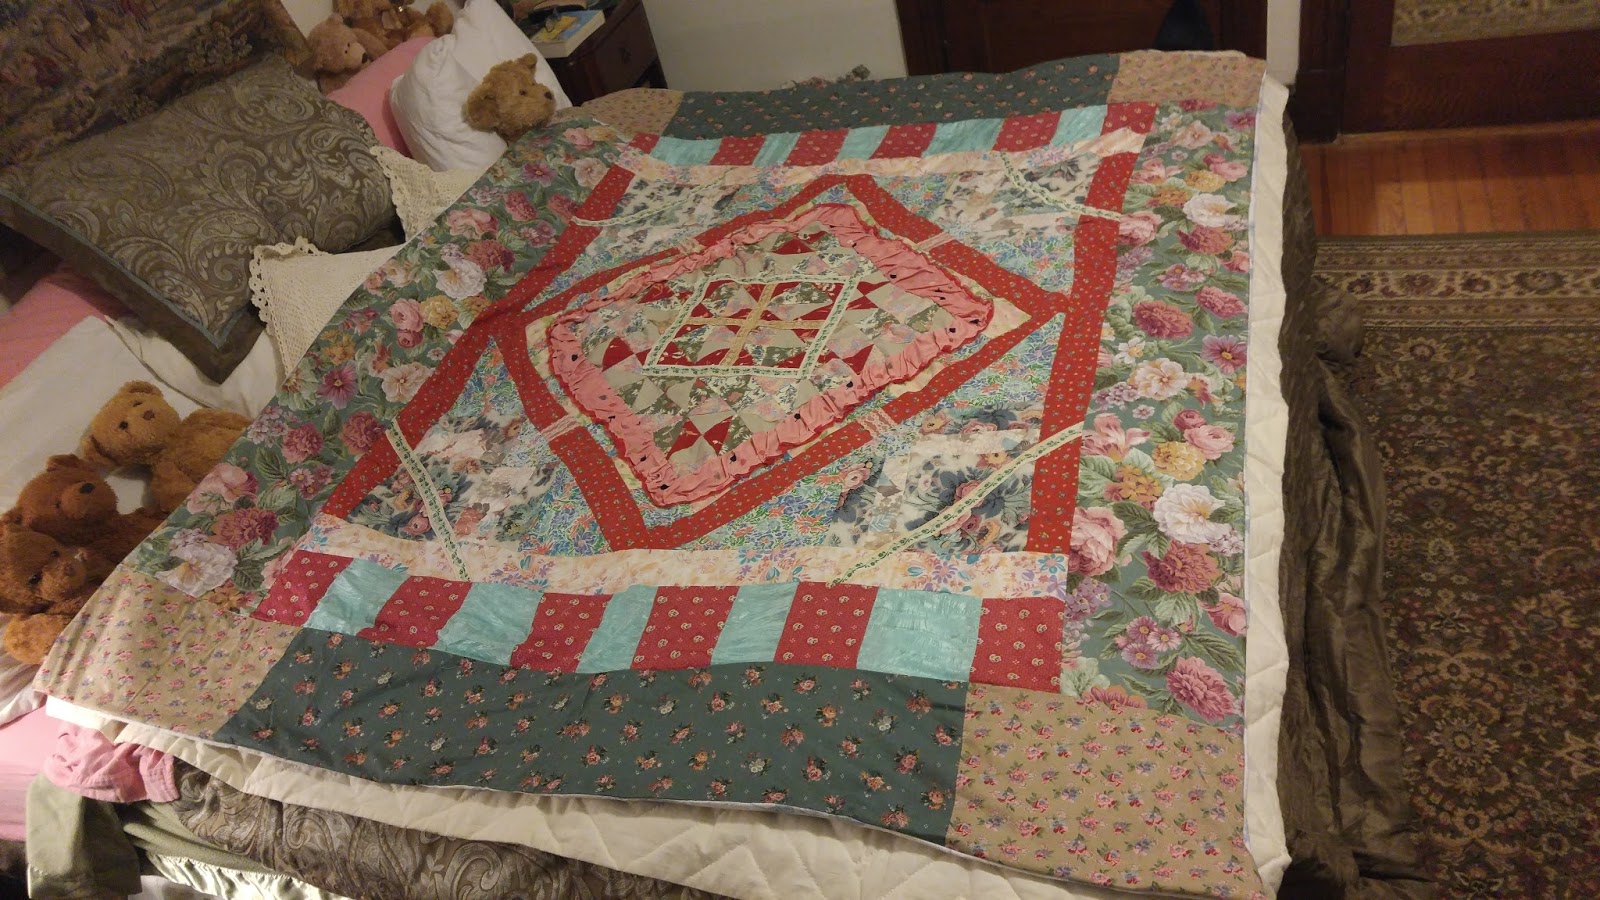
 I finally finished a quilt that I started over ten years ago. It is made of scraps of fabric and ribbon and bits of found lace that I stitched together at odd times over the years. It was sitting in my stash of "unfinished sewing projects" for way too long. About a year ago (!) I got the final pieces seamed together along the edges and this week I stitched on a backing. This was an old flannel sheet with a pretty floral design on it that I got for $3 at the Salvation Army Family Store and that makes a nice warm cozy back to the quilt top as I decided to forgo inserting batting between the two layers of fabric. I was inspired to finish this by watching a PBS TV show recently -- Sewing with Nancy -- on making quilts where Nancy (Zieman) showed how to make perfect squares and triangles and how to arrange them for classic quilt designs. Well, my quilt is not like that but more along the lines of a 'crazy quilt' in terms of design, as crazy quilts are basically easier to make as you kind of make them up as you go along which is how this quilt got made! I recycled an old loose weave cotton knit blanket on the inside as the "batting" and added a full size flannel sheet for the underside. It's large enough that the quilt can lie on top of a king size bed or can hang over the edges on a smaller bed. It's mostly pinks, reds, greens and a lot of floral bits with some lace and ribbons and a stitched down ruffled part in the center, so the overall effect is on the "feminine" side. I've done some stitching in the ditches, but not completely throughout the quilt. I'm thinking I might sell this quilt if someone makes me an offer and I can bear to part with it!


