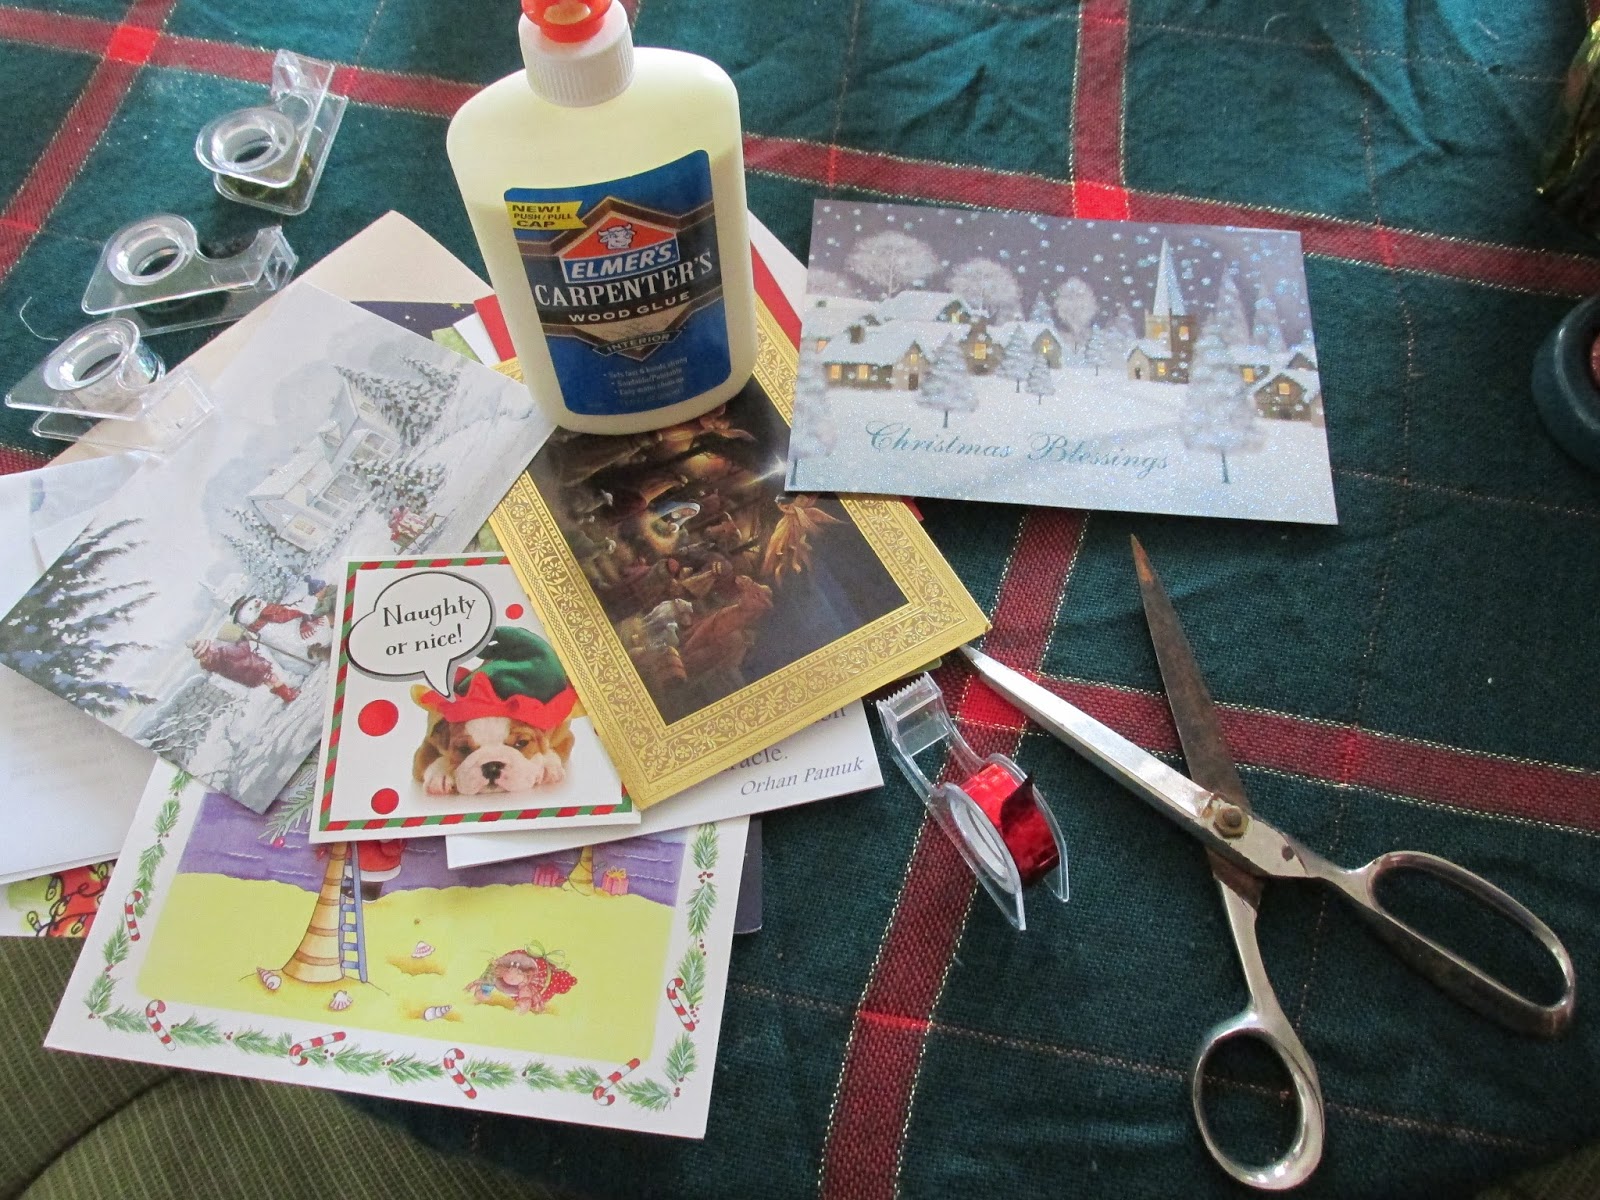
This was a quick make-over of a
Kleenex box that had autumnal images on it and just didn't look good now that it's
Advent. So I found the
Christmas cards from last year and said "hmm what can I do with these rather than THROW THEM OUT AND HAVE THEM END UP IN
LANDFILL?" So I cut out some of the images to fit the sides of the kleenex tissue box and glued them down with some
Elmer's glue that needed using before it dried out. Then, since I'd snapped up some shiny tape from the
Dollar Store, I used that to trim the rough edges of the box. And eh, voila! A decorated tissues box from ole stuff. All it took was used cards, glue, scissors and some tape. If only 15 minutes like this every day could help with re-use, reduce and recycle of everything else......


 I've snipped out a lot of shoulder pads from dresses I've refashioned but can't bring myself to throw them out. So one use I whipped together in about 20 minutes was to turn two pairs of them into pincushions I can use while sewing. I just took the pair and stitched them together, leaving an opening for stuffing. I stuffed them with some left-over cotton wool from pill bottles (another item I've accumulated that was looking for a re-use!), trimmed the edges with some leftover decorative edgings and also inserted some ribbons as ties so I could tie these pincushions into useful places. I used a wooden dowel to help shove in the cotton wool, but not packed too tightly or it makes it hard to push in the pins. One pincushion ended up on my left arm for those pins I remove as I sew, and the other is now attached to the sewing machine for quick pin pick-up. Some people use elastic to tie these types of pincushions on but I don't as I find the elastic itches my skin. Anyway, I was quite happy to find a use for these old shoulder pads, the cotton wool and the odds and ends of embellishments.